Painting a Watercolour Rose
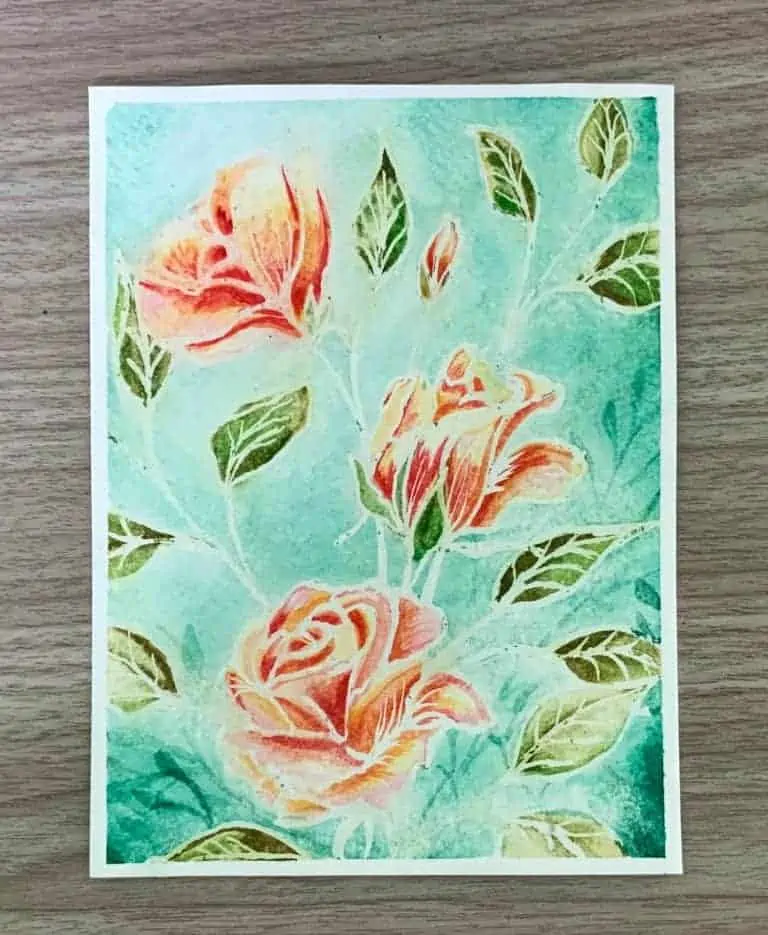
With spring in full bloom and summer fast approaching it is a beautiful time of year to see some amazing colours and shapes as flowers blossom everywhere. This is great opportunity to be inspired by the beauty of nature and to sit back and relax while creating some delicate watercolour paintings. In this guide we show you step by step how to create your own beautiful flower watercolour paintings of Roses.
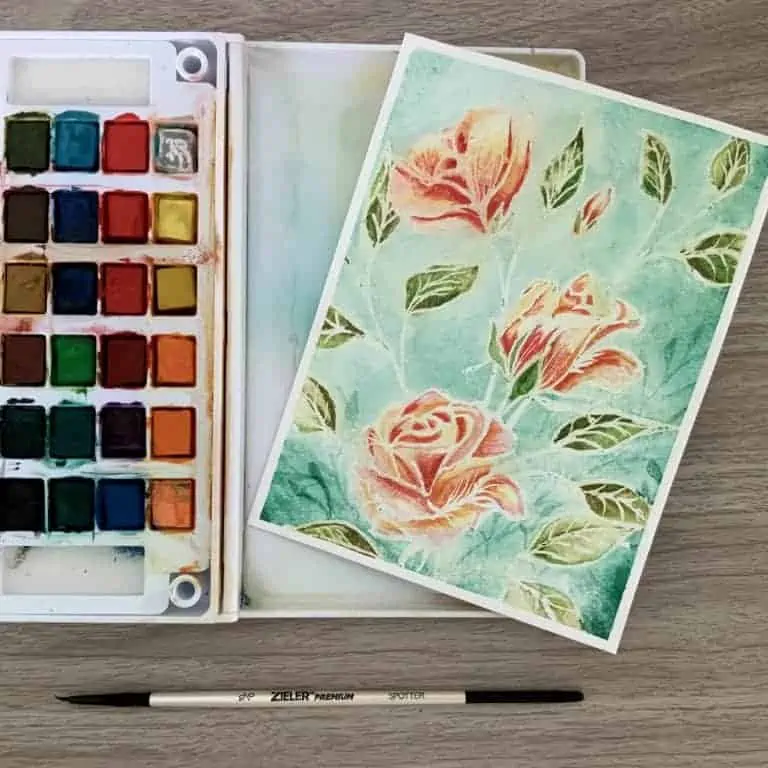
Roses
Watch the time-lapse video to see the process
Layers
See more arty guides here

Paint By Numbers Guide: 9 Steps to Creating Your Masterpiece
Paint By Numbers Guide: 9 Steps to Creating Your Masterpiece Table of Contents Welcome to the world of paint by numbers! This fun and
9 Things You Should Know About Gesso
9 Things You Should Know About Gesso and How You Should Use It Table of Contents 1. What is Gesso? If you are starting out
An Introduction to Acrylic Paint & How to Get the Best From It
An Introduction to Acrylic Paint & How to Get the Best From It Table of Contents Loved by artists and crafters all over the world,
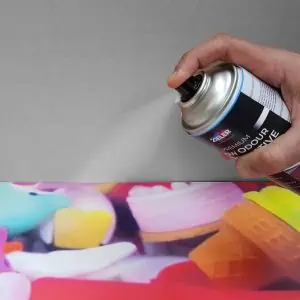
Acrylic Varnish Spray: The Best Way to Protect Your Art Paintings
Acrylic Varnish Spray: The Best Way to Protect Your Art Paintings Table of Contents As an artist, we know you have taken great time and

30 Minute Masterpiece – Still Water Reflection
Still Water Reflection Welcome to the 30 Minute Masterpiece with me Trish Green – Artist Ambassador at Zieler. I am a self-taught artist aiming to
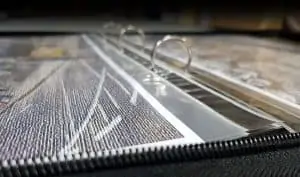
Art Portfolio Presentation Case – Product Guide
Zieler’s Art Portfolio Presentation Case & Art Folder – An All-In-One Solution! Imagine an art case that can double up as a portfolio case. One

