Acrylic Pouring Art
Table of Contents

Acrylic Pouring Art - Pouring with Acrylics & PVA
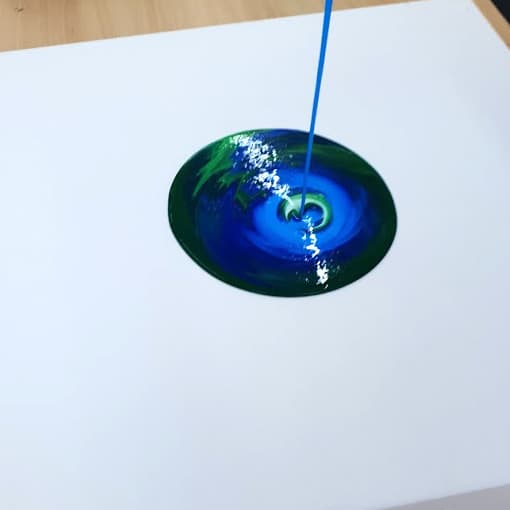
Acrylic Pouring Art is a fun and easy art project you can do at home and it creates some mesmerising effects.
In this guide we will show you all you need to know when getting started with pouring art. The Zieler Acrylic pouring set comes with all the essential items you will need to create your own beautiful works of art.
This is beginner friendly, even if you have never picked up a paint brush before you can make awesome pouring art canvases in minutes.
We will be showing you 4 different styles of pouring at that you can easily try at home. Flip cup, Free pour, circle and kissing pour technique.
Items in you set
- Acrylic paint tubes – primary colours so you can mix any colours
- PVA glue – the pouring medium
- Canvas – perfect surface to pour onto
- Cups – to mix the paints in
- Pallet knives – to stir the paints
- Plastic wrap – to protect your table
- Drawing Pin – to raise the canvas for neat drying press the pins into the back corners of the canvas frame.


Colour Mixing
With the primary colours you can mix a great range of vibrant colours to use in your pouring art.
If you already do some art and know about colour mixing, then you head to the next section. If you are new to painting then it can be handy to do some colour mixing tests on a piece of paper before you get started.
Here we have done a test sheet to see what colours can be created.
- Red + Yellow = orange
- Red + White = Pink
- Red + Blue = Purple
- Blue + Yellow = Green
- Yellow + Red + White = Peach
- Blue + Yellow + White = Turquoise
Once you decide which colours you want to use, we then will be mixing the acrylics into pouring paint.
Mixing Paints
First use the plastic wrap to cover the surface you are working on. Pouring can get quite messy and acrylic paints do not come of clothes or surfaces so you want to make sure the area is protected.
To make the pouring paint you will need to mix together the acrylic paint, PVA glue and some water. You want to aim for the constancy of double cream, so thick and runny.
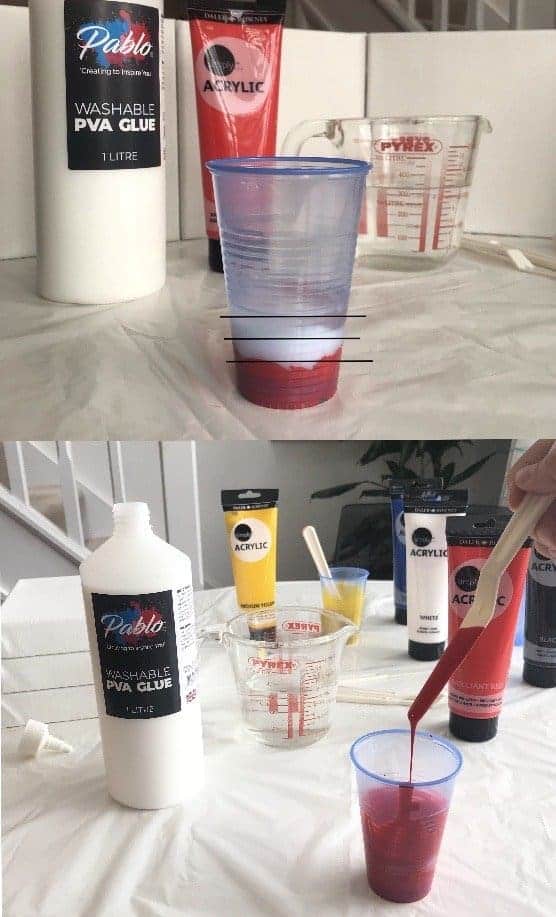
Pick out the colours you want to use and mix the paints in the plastic cups. The cups are clear so you can see the quantities you are mixing. Aim for 1 part paint, 1/2 part PVA glue and a splash of water (you can always add more water if necessary).
We have mixed 6 rings (ridges on the cups) of paint, 3 rings of PVA and 2 rings of water. Mix it together well using a pallet knife, making sure there are no lumps.
Then to check the consistency, lift the pallet knife up and watch the paint run down. You want it trickle down in a thick and fluid consistency. If its to runny add more paint and if its not fluid enough add more water.
Once you have your paints mixed you will be ready to start pouring.

Pouring flip cup
For this you can use as many colours as you like. We suggest starting off with 3 or 4. Using the paints you mixed in the cups.
We have chosen Red, Yellow and Peach but you can choose whichever colours you like. The more you experiment with different colour choices the more you will find out what works best.
Pour a small amount of each coloured paint into one cup. So the cup will be half full with with a little bit of each colour.
Then pour the paint onto the canvas. Pick up the canvas and move it around to spread the paint around the whole canvas.
Free Pouring
So for this rather than pouring all of our colours into one cup, we are going to free hand pour then onto the canvas.
So agin choosing whichever colours you like. We are using Earth colours Blue, light Blue, dark Blue, Turquoise and white.
Pour each different coloured paint out across the canvas. We have done it diagonally in wavy lines. The paints sitting next to each other will start to merge together. You can pick up the canvas tilting it with you hands to move the paints around. Also you can blow using a straw to allow the paints to blend into one and other to create cells.

Circle Pour
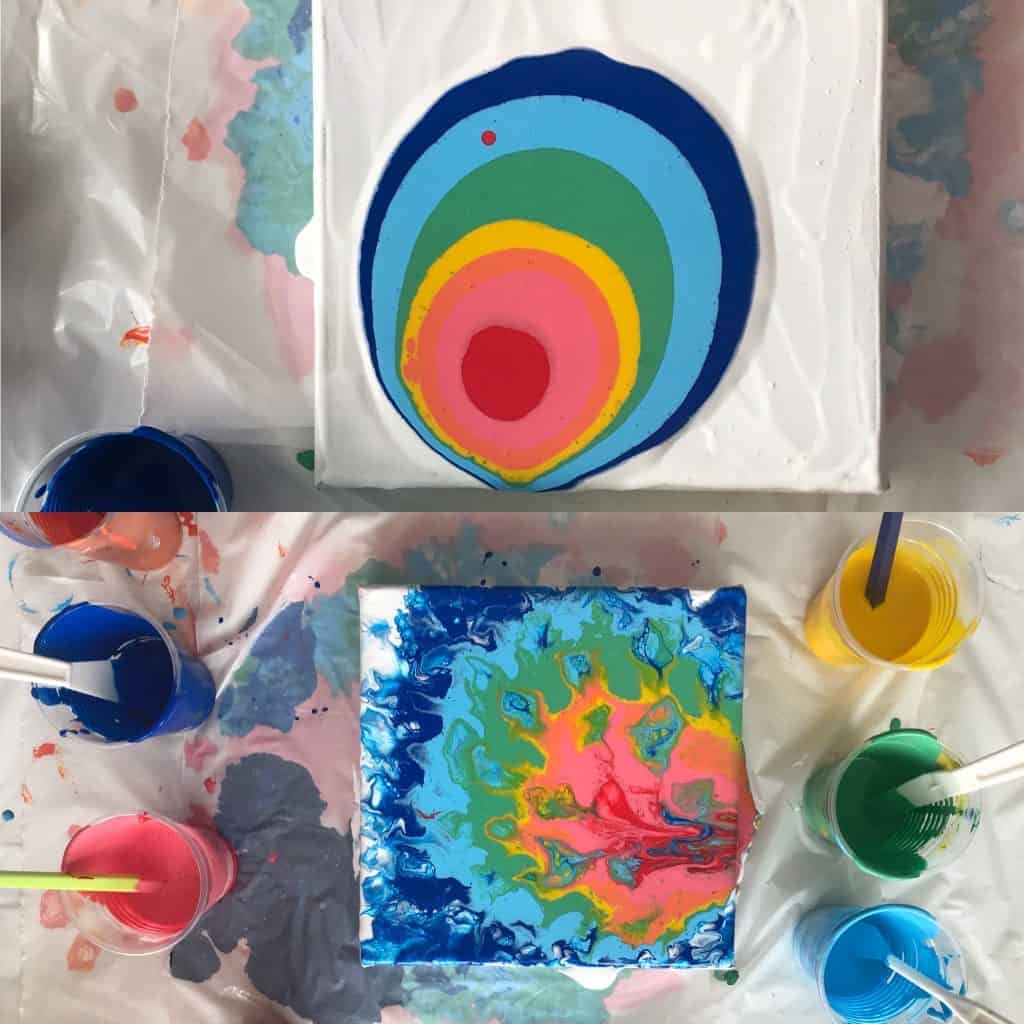
Here we have mixed a rainbow of 7 different colours. Again you can choose to do as many colours as you like.
Starting by pouring white base layer onto the canvas and using the pallet knife to spread an even layer across all of the canvas.
Then pour out your first colour onto the middle of the canvas, here we used blue. Then pour your second colour in the middle of the first colour. Pouring a smaller amount of paint each time until you have a circle with in circle with in a circle.
You could leave it to dry like this if you are happy with this effect. Or you can use a straw to blow on the paint. This will cause it to reveal the layers below and create a really psychedelic effect.
Kissing Pour
Similar to the flip cup you start off by pouring your chosen colours into a cup, this time using two cups instead of one.
For this it is nice to use contrasting colours so we have used warm colours in the first cup and cool colours in the second.
- Cup one – Red, Pink, Orange and Yellow
- Cup two – Blue, light Blue, Green and White
So like the circle pour spread a base layer onto the canvas. Here we have used black instead of white to show you the contrast.
Then use both hands pour both cups of paint onto the middle of the canvas. Pouring them at the same time with the rims of the cups touching so the two flows of paint run onto the canvas together.
Then you can pick up the canvas and move the paint around. Also use a straw to blow the paint if you want a more blended look.

Once you have finished leave your canvases in a safe place to dry, it can take up to 3 days for the paint to completely dry. When they are dry you might find the paint looks less glossy and more matt, you can add a gloss vanish to create a more vibrant finish. We recommend Montana spray vanish, its really easy to use just make sure you use it in a well ventilated area.
Top Tip – if you are unhappy with the turn out of your pour you can simply scrape the paint off the canvas with the pallet knife and rinse any excess paint off in the sink. Then your canvas will be good as new to try another pour.
Watch the video guide here
See more guides here
Paint By Numbers Guide: 9 Steps to Creating Your Masterpiece
Paint By Numbers Guide: 9 Steps to Creating Your Masterpiece Table of Contents Welcome to the world of paint by numbers! This fun and
9 Things You Should Know About Gesso
9 Things You Should Know About Gesso and How You Should Use It Table of Contents 1. What is Gesso? If you are starting out
An Introduction to Acrylic Paint & How to Get the Best From It
An Introduction to Acrylic Paint & How to Get the Best From It Table of Contents Loved by artists and crafters all over the world,
Acrylic Varnish Spray: The Best Way to Protect Your Art Paintings
Acrylic Varnish Spray: The Best Way to Protect Your Art Paintings Table of Contents As an artist, we know you have taken great time and

30 Minute Masterpiece – Still Water Reflection
Still Water Reflection Welcome to the 30 Minute Masterpiece with me Trish Green – Artist Ambassador at Zieler. I am a self-taught artist aiming to
Art Portfolio Presentation Case – Product Guide
Zieler’s Art Portfolio Presentation Case & Art Folder – An All-In-One Solution! Imagine an art case that can double up as a portfolio case. One

