Introduction to lino printing
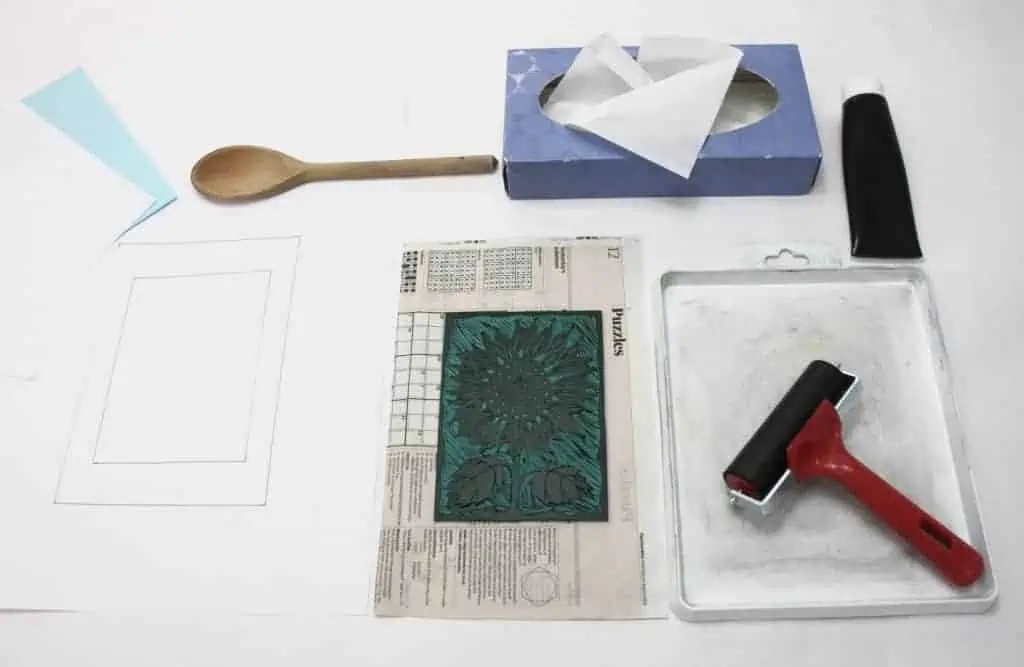
Setting up for printing
Cover your work area with newspaper and set up the equipment as shown below. This set up should be reversed if you are left-handed. With practice, you will work systematically and keep the area clean and the finished prints free from ink smudges. After printing, you can leave your prints on a flat surface to dry or you can hang them up. Tip: make a simple drying line by tying string between two sturdy chairs and clip the prints on the string with clothes pegs.
Printing and Drying
Place the lino, face up, next to the ink tray.
Put some ink on the middle of the tray, roll over it with the roller, back and forth until it sounds sticky.
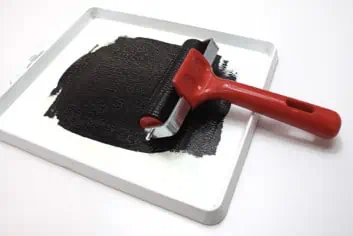
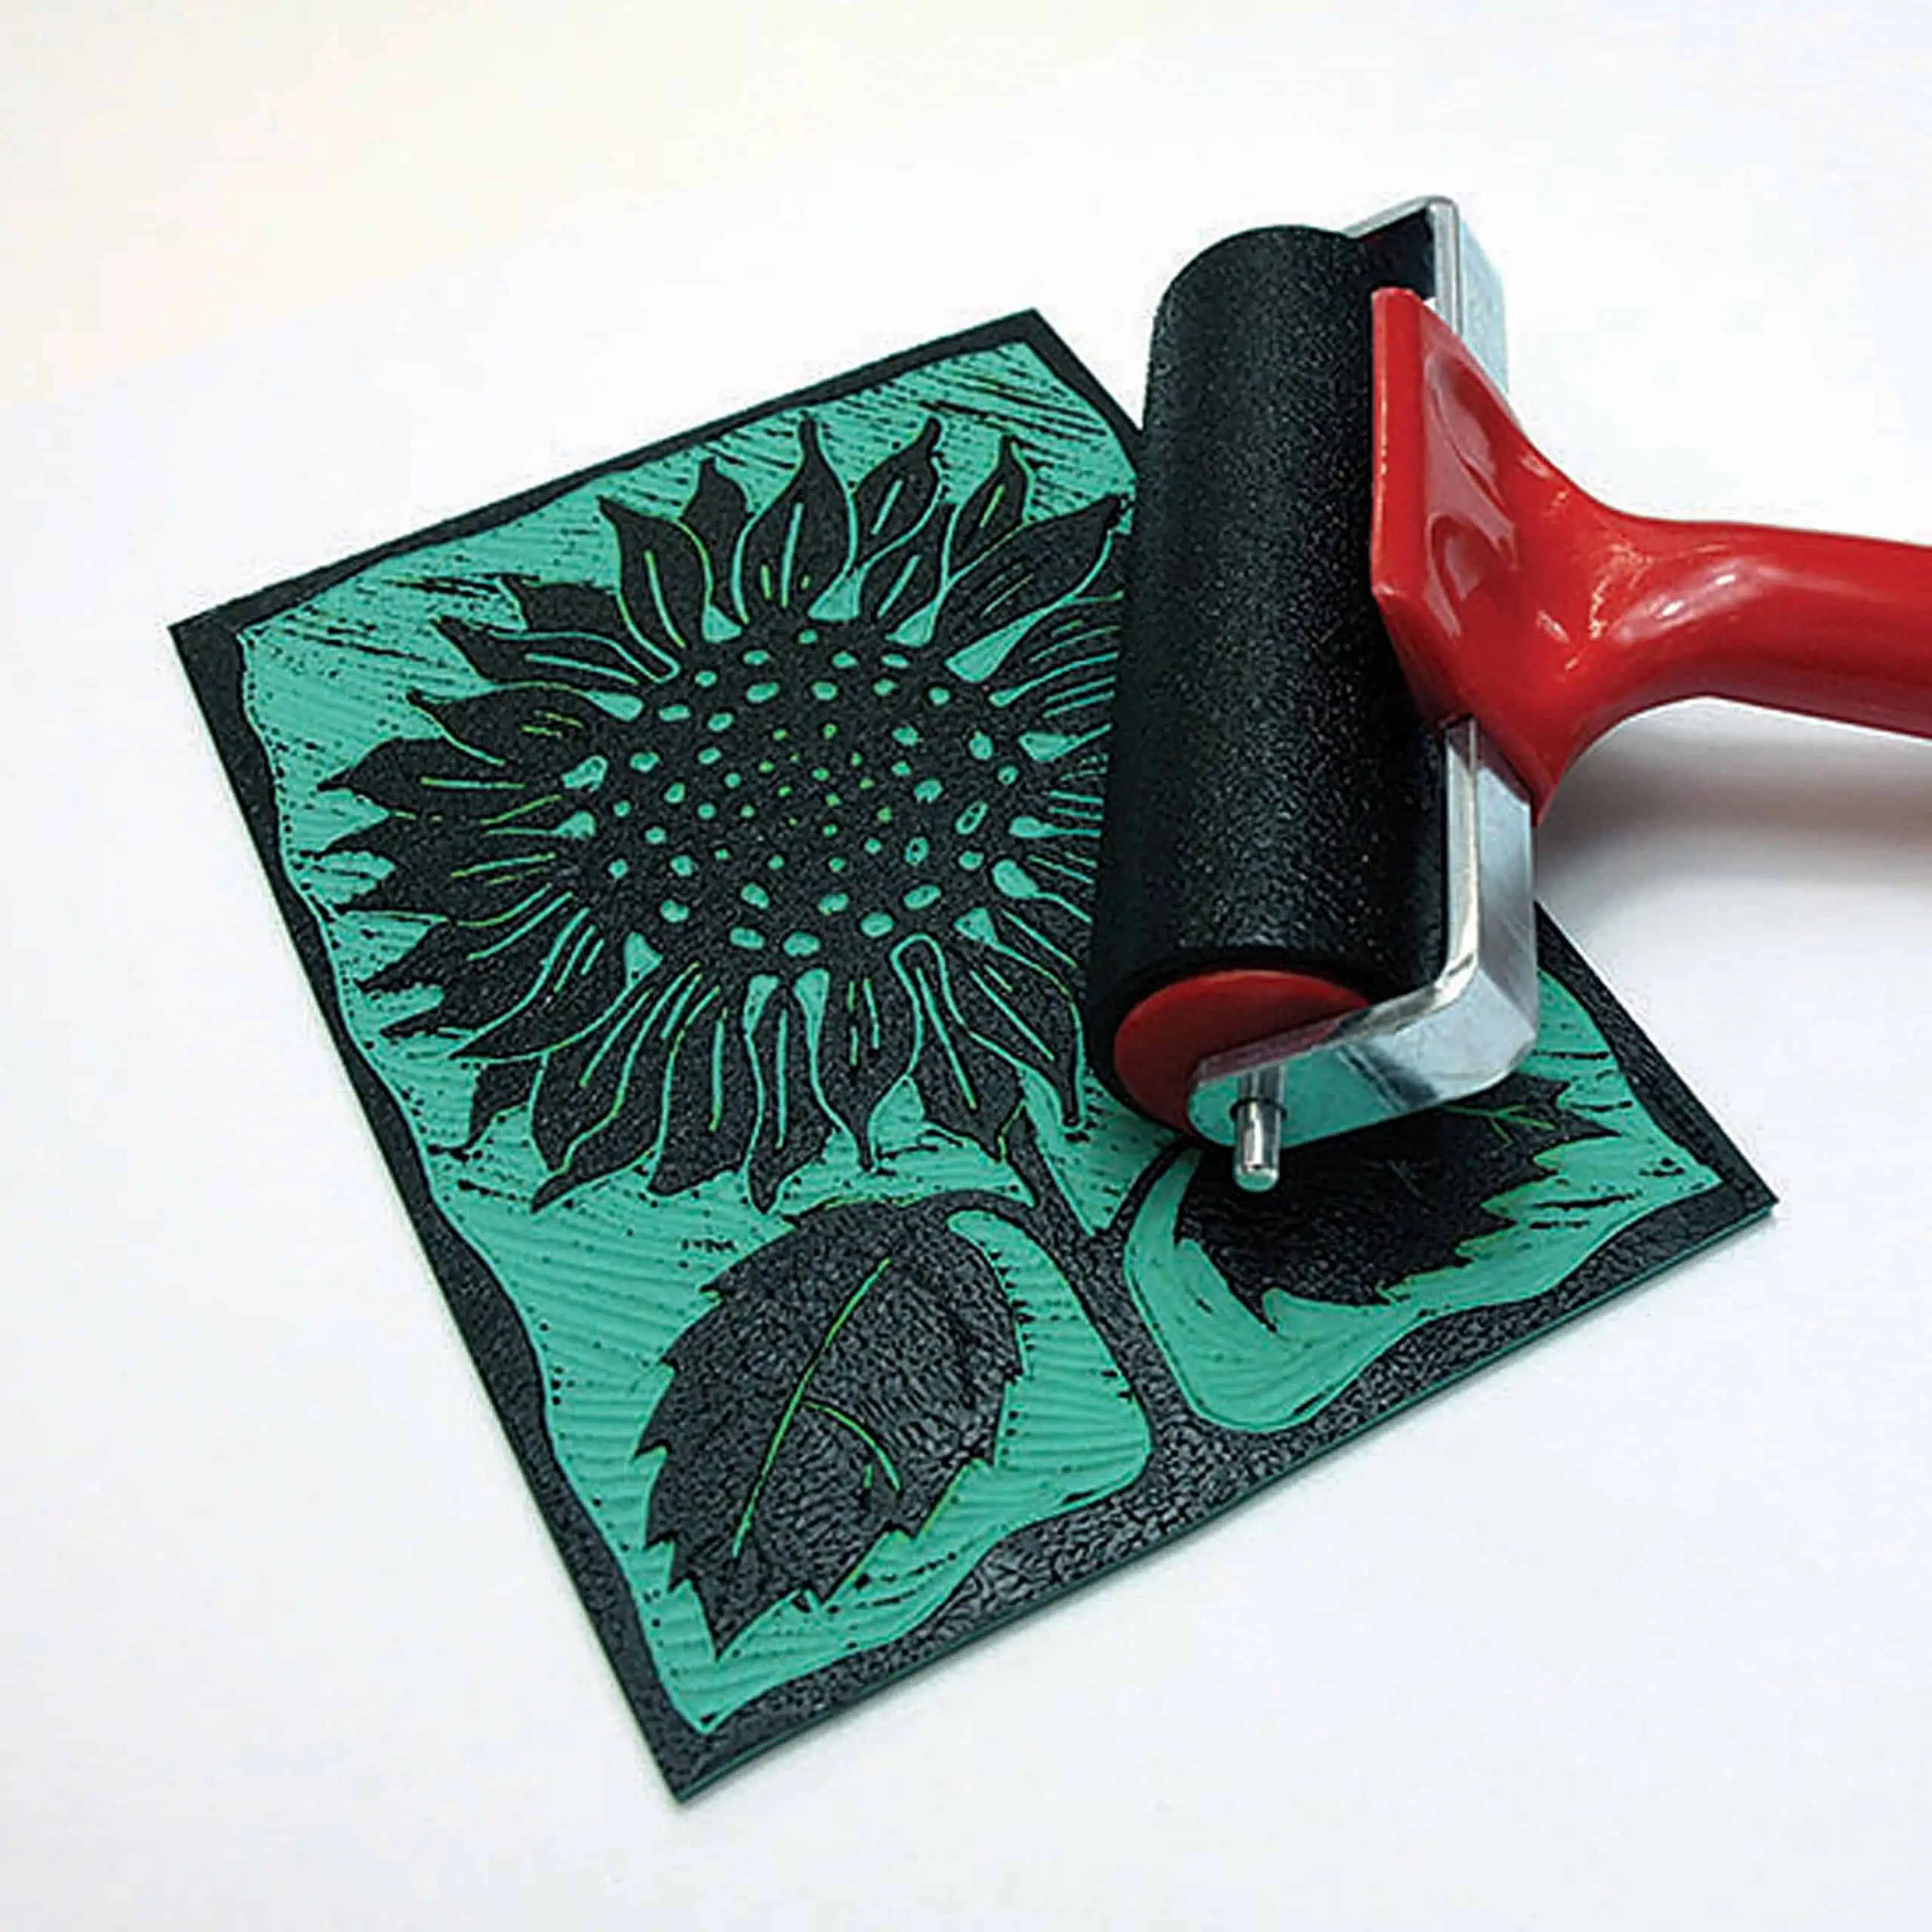
Use the roller to apply ink to the lino until all raised surfaces are evenly coated.
Place the lino, face up, on the registration sheet; it should sit inside the smaller box drawn in pencil.
Wipe fingers on tissue to remove any ink from your hands.
Take a sheet of printing paper, place it face down on the lino being careful to line it up within the larger box you drew on the registration sheet.
- Holding the printing paper in place and not allowing it to move, rub all over the back of it with a wooden spoon to transfer ink from the lino to the paper.
Carefully peel back a corner of the paper to check the print. If it looks good, with no bare patches, peel off the whole print and leave flat or hang to dry.
Repeat the process to make more prints.

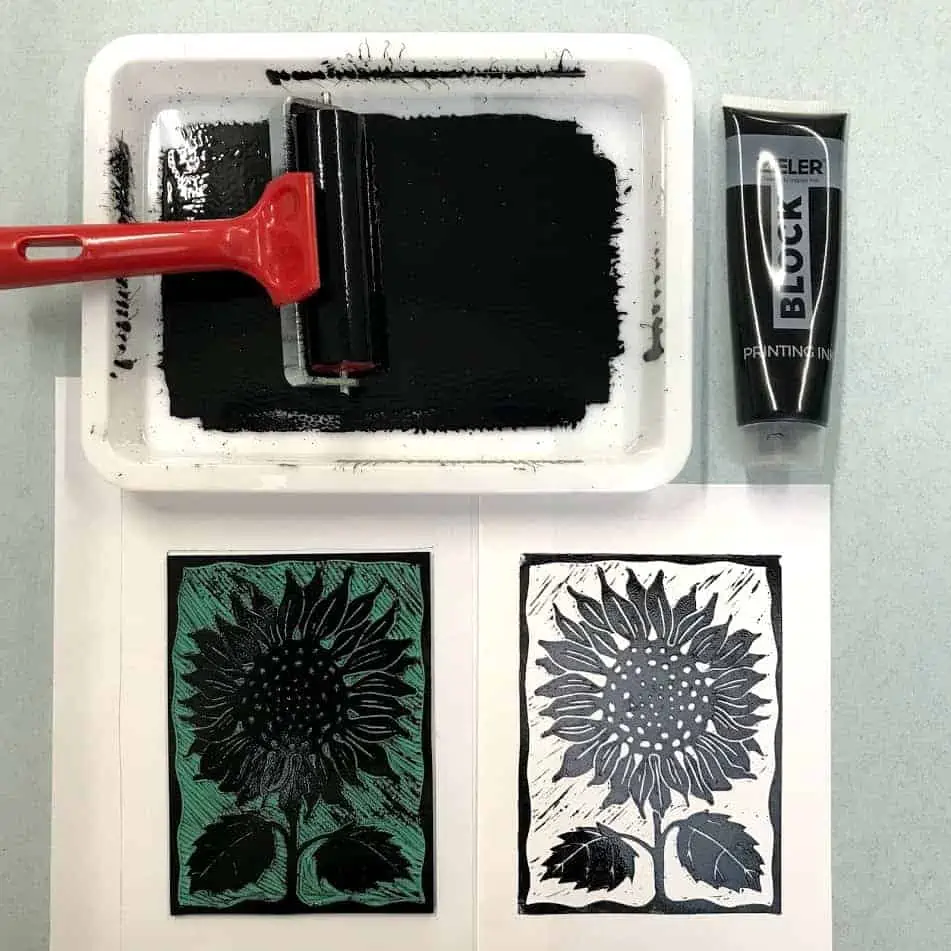
Tips and Reminders:
Be systematic and keep your work area as clean as possible.
Ink up your lino block before each new print. First move your block back onto the small sheet of newspaper next to the ink tray. This helps to keep the inking area separate from the printing area.
Make sure there is enough ink in the tray and that you have rolled it back and forth until it sounds sticky.
Coat the lino block evenly with a good layer of ink.
To print, move the lino block onto the registrations sheet, ink side up.
Regularly wipe fingers on tissue.
cleaning equipment after printing
Ink Tray, Roller and Lino: wipe with newspaper or a rag until most of the ink is removed. Use a rag or kitchen towel and a little vegetable oil to remove last traces of ink. Equipment may then be washed with warm water and washing up liquid. Rinse and thoroughly dry all items.
Pack blades away carefully and store securely away from children to avoid accident or injury.
Watch the time-lapse here
To learn the cutting process of Lino see our other guide
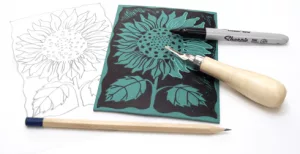
Introduction to Lino, Printing Guide
Introduction to lino printing Setting up for printing Cover your work area with newspaper and set up the equipment as shown below. This set up
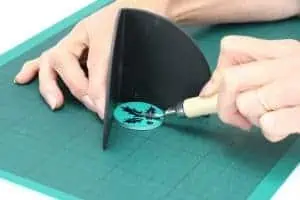
Introduction to Lino Cutting Guide
Introduction to Lino Cutting SHOP FOR LINO Your Lino Kit Contains Soft Lino, Cutting Tools: handle, 5 blades, blade removal stick, Roller (brayer), Hand Guard, Ink Tray, Ink, Instruction Leaflet, Stamp Holder, Pre-cut
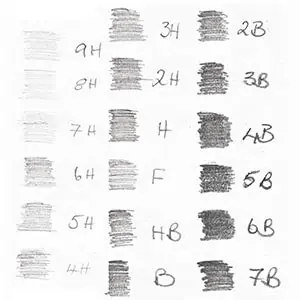
Pencil Grades
Pencil Grades Want to know what is the right pencil to use? Lots of people get confused about the way pencils are graded. Don’t worry

Beginners Guide to Watercolour Pencils
Beginners Guide for Watercolour Pencils Pencil techniques Watercolour pencils are really versatile and easy to use, the great thing about them is that you have

Beginners Guide to Watercolour Painting
Beginners Guide to Watercolour Painting Styles There are a few different techniques you can use for watercolour which equate to different styles of painting. If
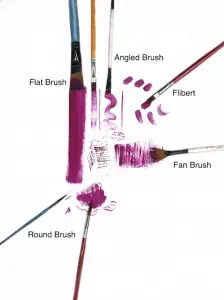
Brush Techniques
Beginners Guide For Brush Techniques It’s important to have a variety of brushes in different sizes and shapes, so you can achieve desired textures. Here

