Introduction to Lino Cutting
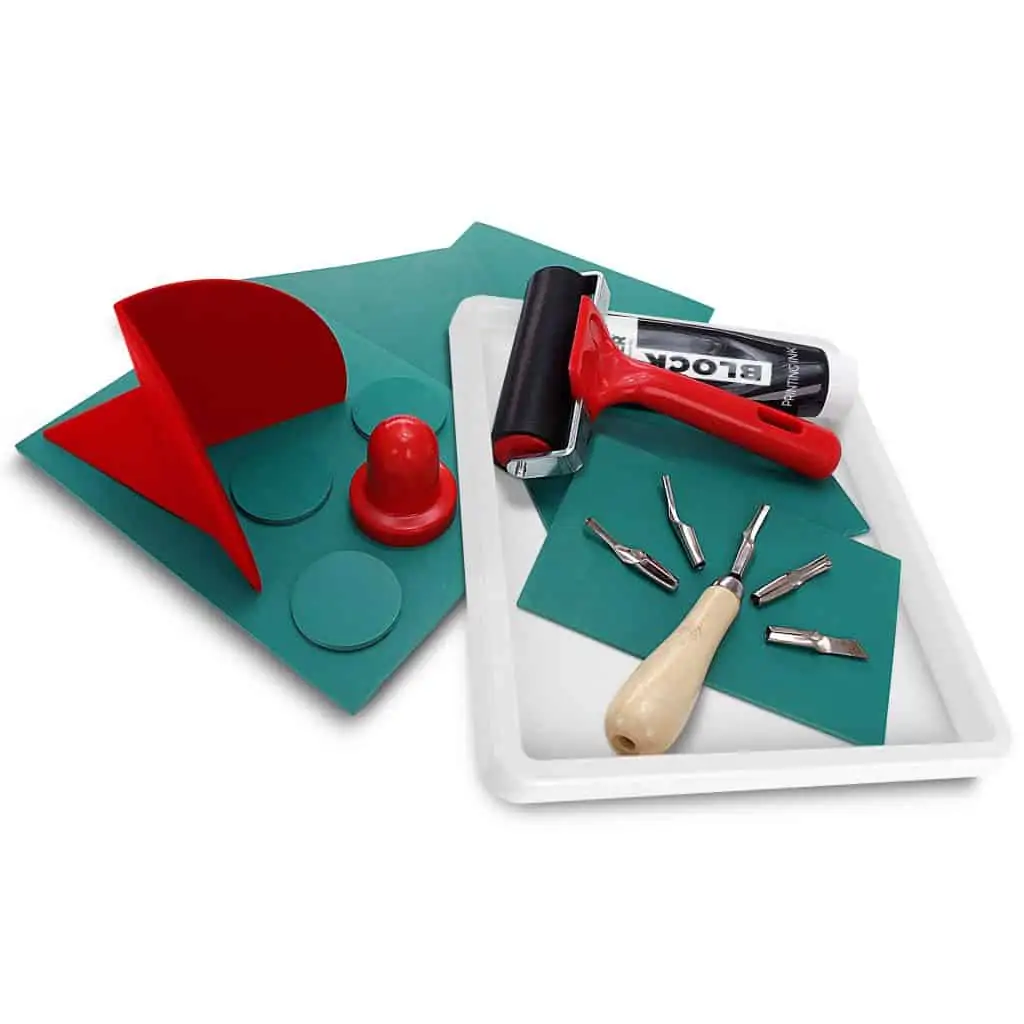
Your Lino Kit Contains
Soft Lino, Cutting Tools: handle, 5 blades, blade removal stick, Roller (brayer), Hand Guard, Ink Tray, Ink, Instruction Leaflet, Stamp Holder, Pre-cut circles of lino for stamp making.
You will also need
Paper to print on: to begin with, any medium weight, matt paper such as A4 copy paper is good enough.
Tracing paper and a soft pencil, Newspaper, Paper tissues or kitchen roll, Vegetable oil for cleaning equipment, A sink with a warm water supply, An old towel for drying hands and equipment.
Prepare your Lino and Image
Choose a lino block from this kit. You may draw your image directly onto the lino using pencil or permanent marker pen or draw the image on paper first then transfer it to the lino. IMPORTANT: your image will be reversed when printed onto paper. If you include any lettering, this must appear in reverse on the lino to come out the right way round when you print!
Take a sheet of paper on which to draw your chosen image. First place your lino block on the paper and draw around it so you know exactly how much space you have in which to draw. To begin with, pick a simple image with areas of high contrast. Draw the chosen image on the paper.

Transfer the Image to the Lino
When you’ve finished your drawing, transfer it to the lino using tracing paper and a soft pencil. IMPORTANT: when you print using the lino block, the image will be reversed on the printing paper. Therefore, when transferring your traced image to the lino, flip it over first to keep it looking the same when printed.
Practise Cutting
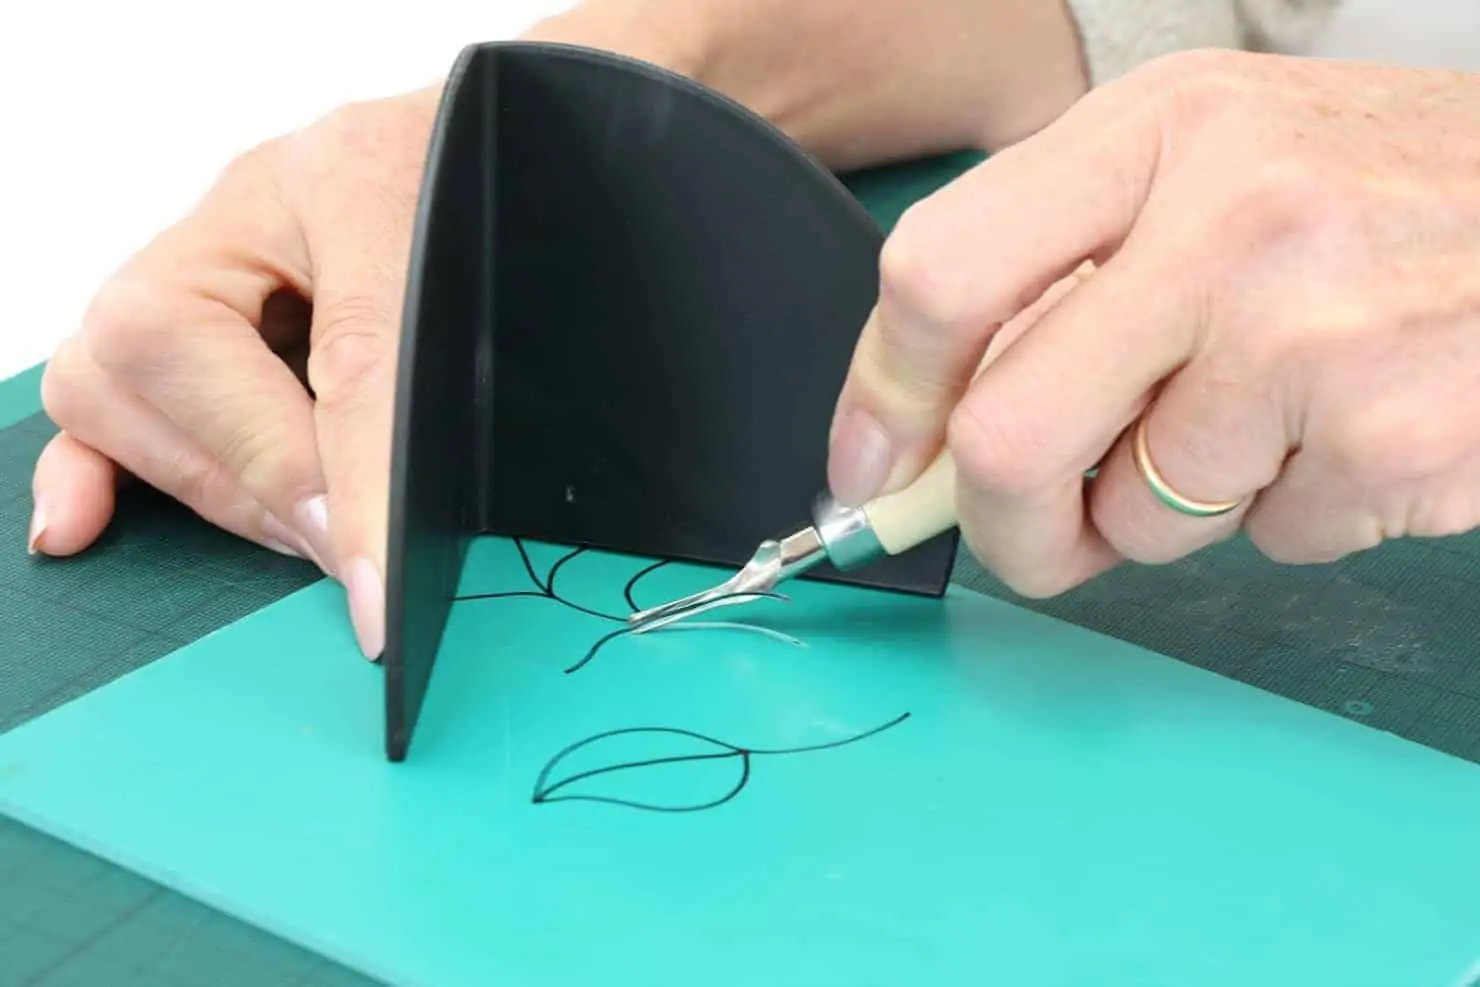
SAFETY ADVICE: work on a non-slip surface using a rubber cutting mat or a piece of board. Cutting tools are extremely sharp; keep hands behind the tool and use the hand guard to protect yourself.
Select a v-shaped blade and insert carefully and firmly into the wooden handle.
Hold the hand guard in the left hand (if you are right-handed), place it on the lino (on the cutting mat) applying downward pressure. Hold the cutting tool in the other hand, push down at a sharp angle into the lino until it ‘bites’ then slowly cut a line. To begin with, a 1mm deep cut is fine; you can go back over it if necessary. Never go deeper than half the depth of the lino block. If the cutting is too shallow, it may fill with ink when printing and detail in the image may be lost. If the cutting is too deep, the lino may be weakened.
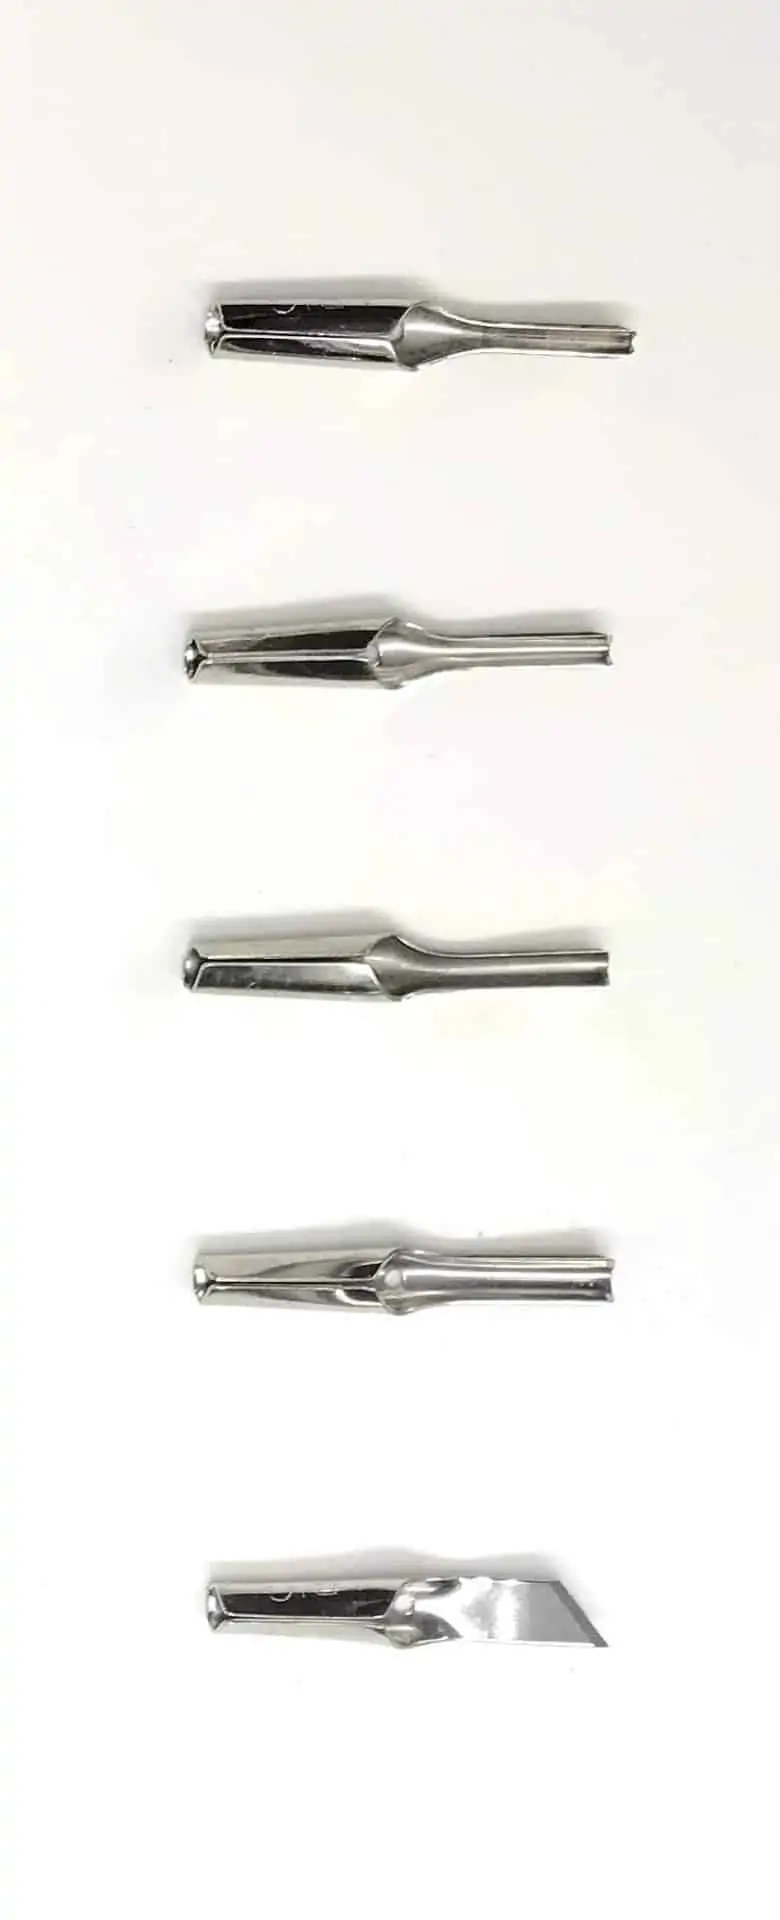
Try out the different blades: here’s a description of their uses
NOTE: the areas that you cut in the lino will appear white in the final print. To help you remember: ‘Cut for white, leave alone for black!’
Blade 1: this cuts a v-shaped line and is one of the most useful blades. Use it to cut around motifs to outline them and to cut lines that give detail or shading to the image. It is also useful for making small lines or dots to produce texture.
Blade 2: this creates a slightly larger v-shaped cut. It is useful where a bolder line is required.
Blade 3: this u-shaped blade is good for cutting wider channels or shapes such as flower petals, animal scales or brickwork.
Blade 4: use this blade for clearing large areas of lino. For example, areas of sky or where you need to create a white background for your image.
Blade 5: this knife blade may be used to outline motifs before cutting away their central areas. It is also useful for marking out a border around your image if you want to create a frame within you print.
Tip: when you have finished cutting the lino, use a large, soft paintbrush to dust off any loose bits before printing.
Registration
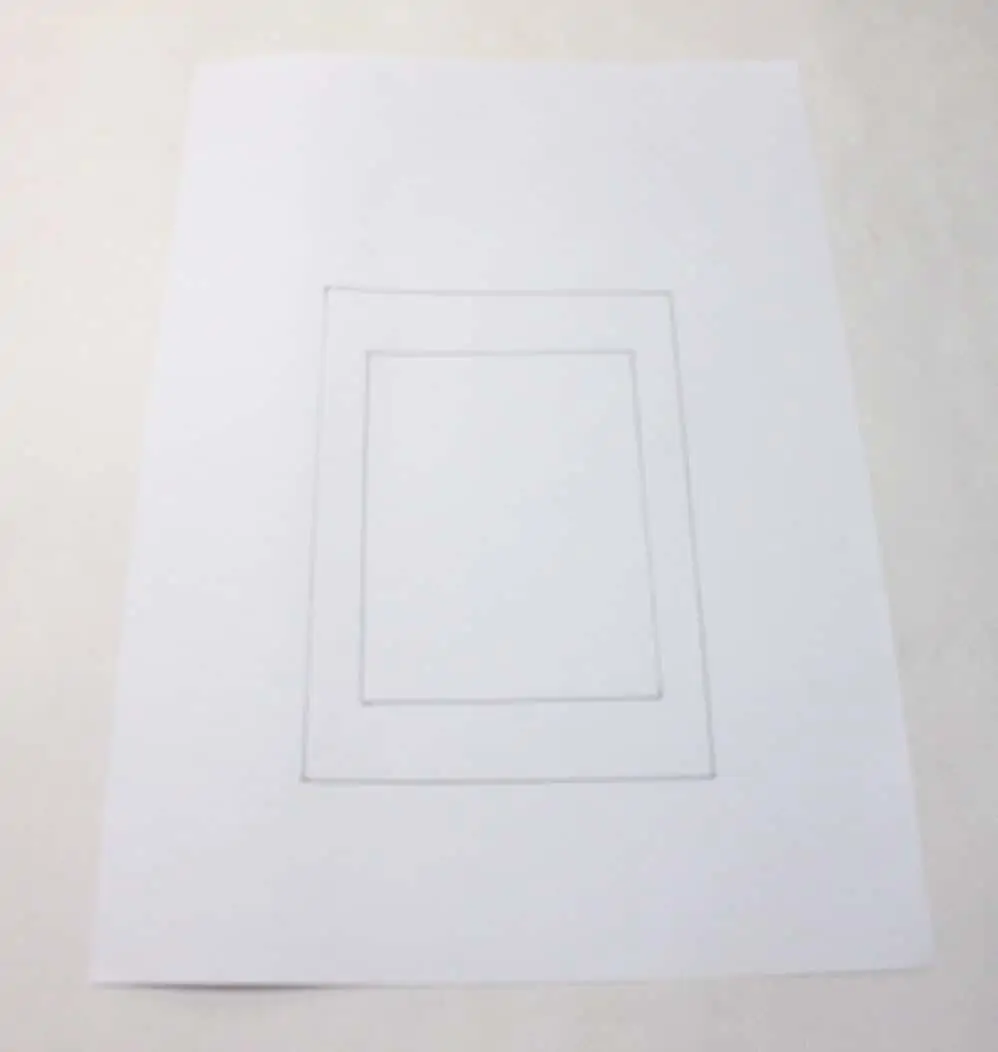
This is how you make sure each printed image ends up in the same position on each of your sheets of printing paper. Some artists use a special board with built-in guides to hold the paper and the lino block. To begin with, use the simple method described below to register your print.
Take an A3 sized piece of paper. This will be your registration sheet.
Place your lino face up in the middle of the registration sheet and draw around it.
Remove the lino. Take a sheet of printing paper and centre it over the box you
have drawn. Draw around the printing paper. Remove the printing paper.
iv. The registration sheet now has two boxes drawn on it: the inner box is the guide for where to place the inked-up lino, the outer box is the guide for where to put the printing paper when placing it on top of the inked lino.
See the video guide here
See our Lino Printing Guide for the next steps
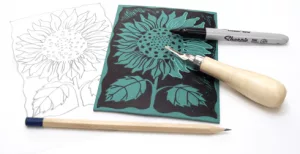
Introduction to Lino, Printing Guide
Introduction to lino printing Setting up for printing Cover your work area with newspaper and set up the equipment as shown below. This set up
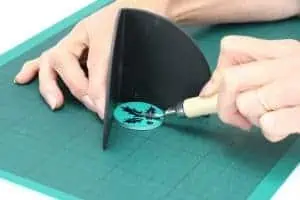
Introduction to Lino Cutting Guide
Introduction to Lino Cutting SHOP FOR LINO Your Lino Kit Contains Soft Lino, Cutting Tools: handle, 5 blades, blade removal stick, Roller (brayer), Hand Guard, Ink Tray, Ink, Instruction Leaflet, Stamp Holder, Pre-cut
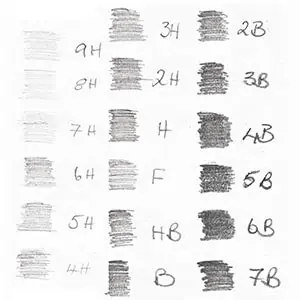
Pencil Grades
Pencil Grades Want to know what is the right pencil to use? Lots of people get confused about the way pencils are graded. Don’t worry

Beginners Guide to Watercolour Pencils
Beginners Guide for Watercolour Pencils Pencil techniques Watercolour pencils are really versatile and easy to use, the great thing about them is that you have

Beginners Guide to Watercolour Painting
Beginners Guide to Watercolour Painting Styles There are a few different techniques you can use for watercolour which equate to different styles of painting. If
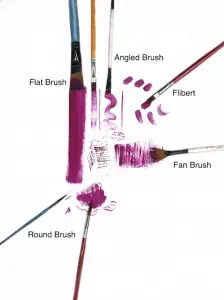
Brush Techniques
Beginners Guide For Brush Techniques It’s important to have a variety of brushes in different sizes and shapes, so you can achieve desired textures. Here


